Hi friends,
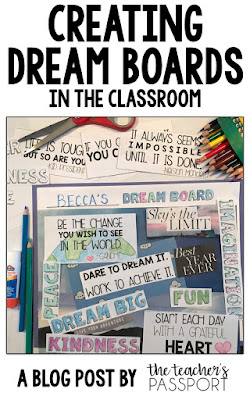
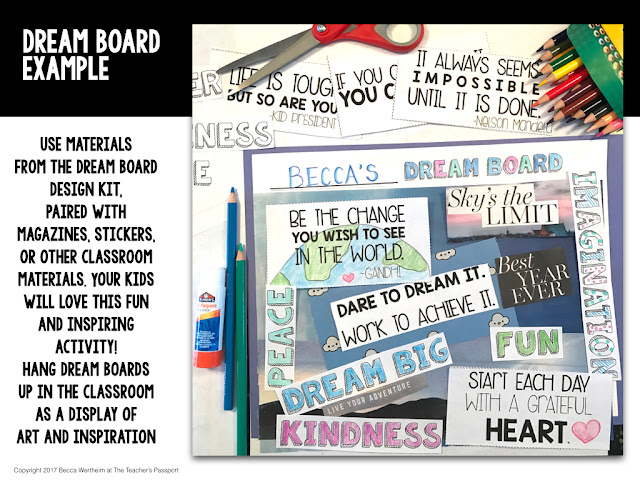
Happy New Year! I always look forward to doing New Year's activities with my students and today I'm excited to share my favorite--Dream Boards. A dream board is a kid-friendly version of a vision board. It's the perfect way for kids to create an inspirational vision board of their dreams or goals, including positive words, quotes, images and colors that make them feel good. When they're finished we hang their dream boards up in the classroom for inspiration. Dream Boards can be created at the beginning or end of the school year or to celebrate a new calendar year.
In the past, dream boards have been challenging because many magazines (that I'm willing to let students cut up) aren't kid-friendly. They have trouble finding inspiring words and quotes. That's why I created the Dream Board Design Kit to make dream-boarding easier for you and your students. Here's how it works:
Step 1: Brainstorm
Tell your students the purpose of their dream board--to inspire them and make them feel good! You may even want to share your own dream board with them. Show them the resources they'll be using to add to their dream boards. Next, use the dream board brainstorming sheet (grab it for free here) so that it's easier to find inspiration when searching through magazines, newspapers, or dream board resources.
Step 2: Start with blank paper
This can be any type of paper--construction, scrapbook, card stock. I recommend card stock because it's more durable! If you'd like, offer a dream board heading to your students. They can color and customize. There are several different fonts to choose from. If you'd rather call it a Vision Board, that option is also included in the design kit.
Step 3: Choose quotes, "powerful words" and backgrounds to include in their collage
Choose from a variety of positive quotes and powerful words (words that make a kid feel good). Students can cut, color and decorate to make each element unique!
Here are examples of some of the "Power Words" included in the Dream Board Design Kit
Browse magazines or newspapers for colorful backgrounds; or, use construction paper/scrapbook paper! Layer with colorful backgrounds to make the Dream Board really pop!
Before adding glue, encourage students to play around with different design options. Discuss the "focal points" of the Dream Board. Have them decide which elements they want to really stand out. Once they're ready, they can glue the pieces onto their dream board.
Step 5: Share and Reflect
Encourage students to share their dream boards with the whole class, a partner, or an adult at the school. Getting them to practice talking about their values, goals and dreams is a powerful skill that they will need for the rest of their life. After sharing, I recommend hanging your kids' dream boards in the classroom for them to see each day! It's a meaningful and easy way to include student artwork on your walls! You can also have students complete Dream Board reflections and writing activities which are included in the design kit.

Grab the Dream Board Design Kit here.
Play the video below to see how I use the Dream Board Design Kit in my classroom:
What are your favorite New Years activities to do with your students? Have you ever done Dream Boards or vision boards? Let me know in the comments below! If you choose to create these with your students this year, share their creations using #classroomdreamboards :)
If you're looking for a way for students to set personal and academic goals for the new year, you may be interested in these easy-prep, print & fold Goal Journals! They're so easy to assemble that kids can do it :)
Happy New Year,


